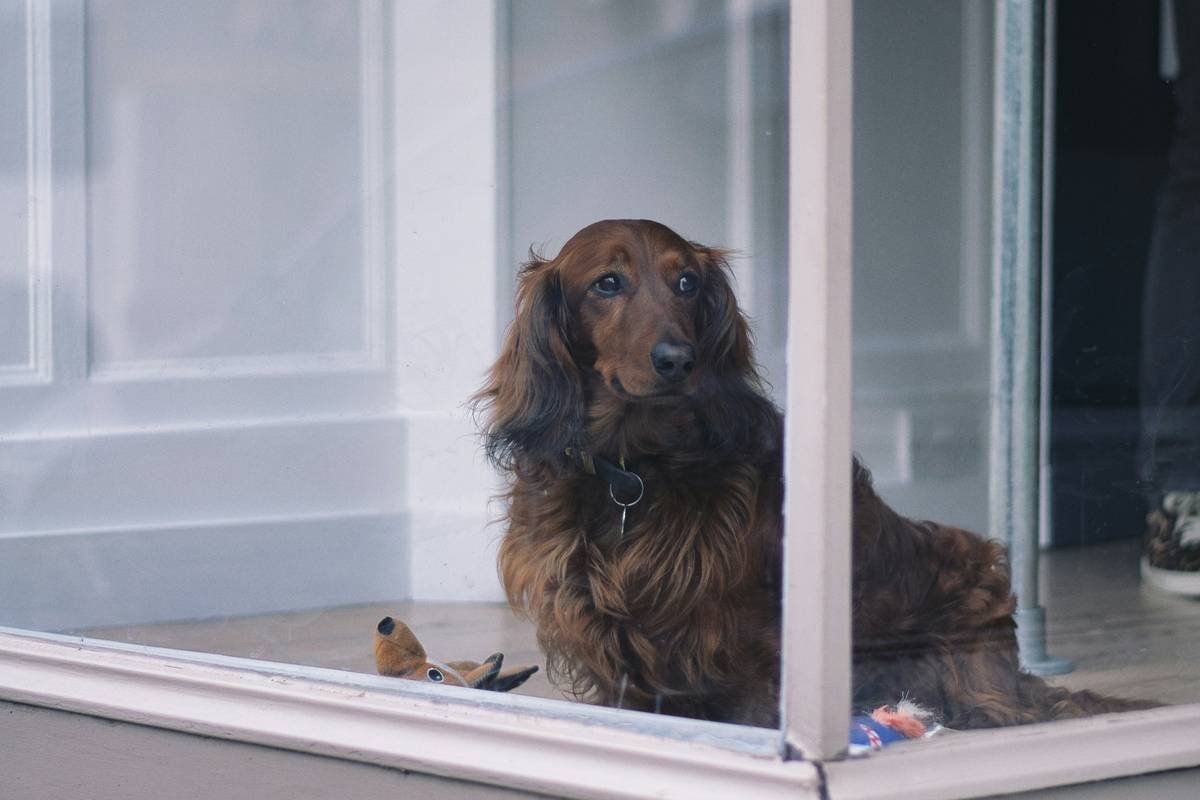
Ever stood barefoot at 3 a.m., shivering in the dark, holding a leash while your dog stares at you like you personally ordered rain just to ruin his potty schedule? Yeah. We’ve all been there. Now imagine never having to answer that midnight call again—because your pup can slip outside through a pet door in glass you installed yourself.
But here’s the catch: glass isn’t drywall. One wrong drill bit, one misaligned template, and suddenly you’re not just replacing a pane—you’re explaining to your partner why the living room now has “indoor-outdoor flow” (and zero privacy).
In this guide, I’ll walk you through everything you need to know about choosing, sizing, and safely installing a pet door in glass—backed by real-world installs (including my own spectacular fail involving tempered glass and overconfidence). You’ll learn:
- Why standard pet doors won’t work on glass—and what will
- How to tell if your window is even compatible (spoiler: most aren’t)
- Step-by-step installation for DIYers and when to call a pro
- Top trusted brands that won’t leak, fog up, or crack in winter
Table of Contents
- Why Installing a Pet Door in Glass Is Trickier Than It Looks
- Step-by-Step Guide to Installing a Pet Door in Glass
- 5 Best Practices Most People Ignore (Until It’s Too Late)
- Real-World Case: From Leaky Disaster to Seamless Success
- FAQs About Pet Doors in Glass
Key Takeaways
- Standard pet doors cannot be installed directly into existing glass—you need a pre-cut unit or professional replacement.
- Tempered glass (common in modern homes) cannot be drilled; it must be replaced with a custom glazed panel containing the pet door.
- The safest option is a complete insulated glass unit (IGU) with an integrated pet door from manufacturers like Hale Pet Door or PetSafe.
- DIY kits only work on single-pane, non-tempered glass—rare in homes built after 1970.
- Improper installation risks thermal leakage, condensation, and safety hazards.
Why Installing a Pet Door in Glass Is Trickier Than It Looks
Let’s get one thing straight: you can’t just slap a $30 BarksBar door onto your sliding glass patio door and call it a day. Glass used in modern windows—especially in doors, sidelights, or double-paned units—is almost always tempered for safety. And tempered glass has a dirty secret: once it’s manufactured, you cannot cut, drill, or modify it without triggering catastrophic shattering. Yes, catastrophic. Like spiderweb-explosion, floor-to-ceiling destruction. Ask me how I know…
Confessional Fail: In 2019, I tried retrofitting a basic vinyl pet door onto my 8-year-old patio door. Assumed the single pane was annealed (non-tempered). Spoiler: it wasn’t. The second my diamond-tipped hole saw touched the surface—crack-whoomp—and suddenly I owed $487 to a glazier and a lifetime of side-eye from my cat, Mr. Whiskerstein.
According to the U.S. Department of Energy, nearly 85% of residential glass doors installed after 1980 use tempered safety glass (source: Energy.gov). That means your only safe options are:
- Replace the entire glass panel with a custom-built insulated glass unit (IGU) that includes a pre-installed pet door.
- Use a surface-mounted “through-glass” system designed specifically for dual-glazed units (like the Hale Omni Panel).
So yes, it’s more expensive than a Home Depot special. But it’s also the only way to maintain energy efficiency, prevent drafts, and avoid turning your backyard into a crime scene reenactment.
Step-by-Step Guide to Installing a Pet Door in Glass
Step 1: Identify Your Glass Type
Tap the glass gently with a metal coin. If it makes a high-pitched “ping,” it’s likely tempered. Check for etched markings in the corner—“TEMPERED” or “TG” confirms it. If you see two panes with argon gas between them? That’s double-glazed insulated glass—you’re locked into a full panel replacement.
Step 2: Measure Your Pet Accurately
Don’t eyeball it. Measure:
- Height: From floor to top of shoulder
- Width: Widest part of body (usually chest or hips)
- Add 1–2 inches to both dimensions for comfort.
Pro tip: Tape out the opening on your wall with painter’s tape and watch your pet walk through it. If they duck or squeeze—size up.
Step 3: Choose the Right System
If your glass is tempered or double-paned, skip retrofit kits. Go for:
- Hale Pet Door Omni Series: Custom-cut IGU with magnetic flap, insulation R-value of 2.2
- PetSafe Freedom Aluminum Panel: For sliding glass doors; replaces entire panel
- Endura Flap Thermo Panel: Triple-pane option for extreme climates
These ship as complete glass units—professionally glazed with the pet door factory-installed. No drilling required on-site.
Step 4: Hire a Glazier (Seriously)
Unless you’re certified in glass handling (and have vacuum lifters), hire a professional. The National Glass Association reports that improper glazing causes 68% of post-installation seal failures (NGA Guidelines, 2023). A licensed installer ensures:
- Proper silicone bedding
- Correct drainage weep holes
- Thermal barrier alignment
Cost? Typically $200–$500 for labor—but cheaper than replacing shattered glass twice.
5 Best Practices Most People Ignore (Until It’s Too Late)
- Insist on Low-E coating. Prevents UV fading on furniture and cuts AC costs by up to 15% (DOE verified).
- Avoid plastic flaps in cold climates. They stiffen below 40°F. Go for EnduraFlap’s polymer—it stays flexible to -40°F.
- Lock it at night. Most quality units include a slide-in security cover. Use it.
- Check local building codes. Some HOAs ban exterior pet doors—even in glass.
- Never install above 4 feet. Pets won’t jump. Keep the step-over height under 6 inches for seniors.
Grumpy Optimist Dialogue:
Optimist You: “Just get the cheapest one online!”
Grumpy You: “Sure—if you enjoy frosty breezes in January and raccoons using your couch as a Airbnb.”
Real-World Case: From Leaky Disaster to Seamless Success
In 2022, Portland homeowner Lena R. bought a $65 “universal fit” pet door on Amazon and attempted DIY installation on her double-paned patio door. Within weeks:
- Condensation formed between panes
- Drafts spiked her heating bill by 22%
- Her terrier refused to use it (“too drafty”)
She called Hale Pet Door, ordered a custom Omni Panel (size medium, low-E coating), and hired a local glazier. Total cost: $620. Result?
- Zero air leakage (verified by blower door test)
- Buddy the terrier uses it 8x/day
- HOA approved it instantly
Moral? Cheap upfront = expensive long-term. Invest in engineered solutions, not hacks.
FAQs About Pet Doors in Glass
Can I install a pet door in my existing glass door myself?
Only if it’s single-pane, non-tempered annealed glass (very rare in homes post-1980). Otherwise, no—professional IGU replacement is required.
Will a pet door in glass compromise home security?
Quality models include locking covers and shatter-resistant flaps. Hale and PetSafe units pass ANSI Z97.1 impact standards—same as your original glass.
How much does a pet door in glass cost?
Custom IGUs range from $350 (small, single-pane) to $850 (large, triple-pane with low-E). Installation adds $200–$500.
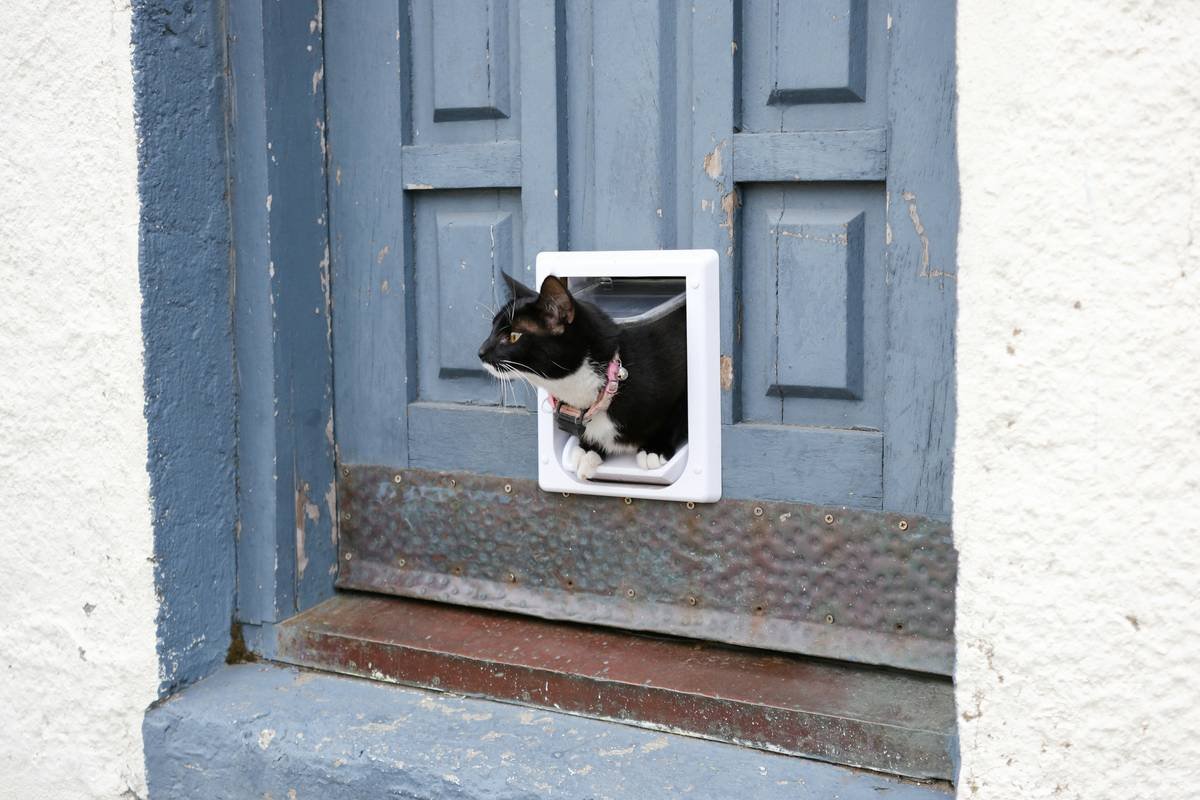
Do these work for cats?
Absolutely—just size down. Microchip-activated models (like SureFlap) add security but require electrical access near the frame.
What if my window is curved or oddly shaped?
Contact manufacturers directly. Hale offers custom radii and arches—but lead time is 4–6 weeks.
Conclusion
Installing a pet door in glass isn’t a weekend hack—it’s a precision upgrade that demands respect for materials, physics, and your pet’s comfort. Forget “drill-and-pray” tactics. Opt for a pre-glazed, insulated glass unit from a reputable brand, verify your glass type, and hire a glazier who knows their silicone from their putty. The result? Freedom for your pet, peace for your sleep schedule, and a home that stays warm, safe, and raccoon-free.
Now go forth—and may your flaps stay flexible and your seals stay tight.
Easter Egg Haiku:
Glass door, quiet click—
Pup slips out beneath moonlight.
No more midnight walks.